Spatial Learning · 19 Oct 2026 · Kids Essentials
Left, Right, Up and Down: Learning Position with Picture Puzzles
Turn picture puzzles into playful practice with left, right, above and below, using simple games and gentle prompts at home.
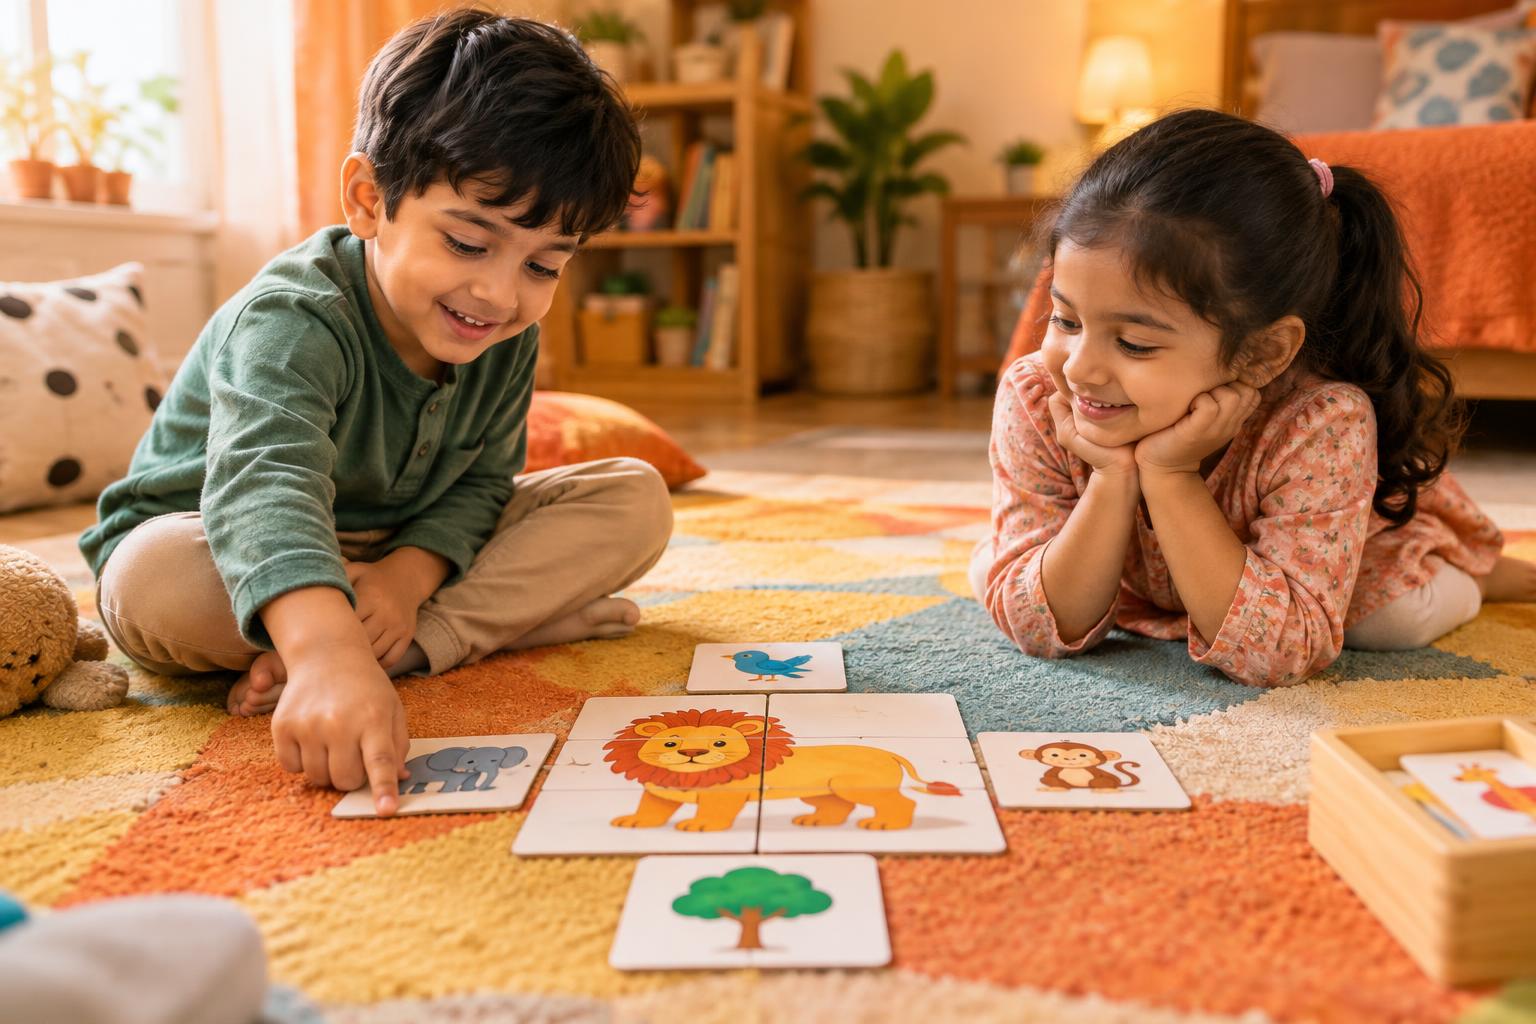
“Put it beside the tree” sounds simple, but a child must work out both the object and its position. Picture puzzles give families something concrete to point to while practising these words. During a quiet afternoon at home, a few pieces and a shared picture can become a game about left, right, above and below—without turning playtime into a test.
Set up a clear, comfortable starting point
Sit beside your child, facing the picture in the same direction. Keep the picture upright and agree which edge is the top. Sitting opposite each other can make left and right confusing because your left is your child’s right.
Choose a puzzle your child can explore without struggling with every piece. A completed puzzle works too: you can play pointing games without taking anything apart. Browse wooden puzzles for options, but check the stated age guidance and piece size rather than assuming all wooden puzzles suit toddlers.
Safety comes first: keep small pieces away from children who mouth objects, particularly under-threes. Supervision does not make small pieces suitable for them. For younger children, use a large, intact picture or an age-appropriate puzzle with pieces that cannot be swallowed. Keep older siblings’ pieces out of reach.
Start with position words your child can see
Introduce one pair at a time: top and bottom, then above and below. Add beside, between, left and right as your child becomes comfortable. Use whichever language feels natural at home. You might say, “At the top—opore,” or “On this side—bam, left.” Keep the meaning clear with a pointing gesture.
1. Find the top and bottom
Ask your child to touch the top edge, then the bottom edge. Next, look for something near each edge: “What can you see at the top of this picture?” Follow what is actually shown rather than expecting every picture to have sky above and ground below.
For a younger child, model the action first: “I’m touching the bottom.” For an older child, ask, “Is that object near the top, near the bottom, or somewhere in the middle?”
2. Play “above or below?”
Choose a clear feature in the picture as your reference point. Ask, “What is above this?” and point to the feature. Then look below it. If the image is busy, cover part of it with plain paper so there is less to search.
With loose, suitable pieces, place one on the table and ask your child to put another below it. Explain that “below” means farther down the table from your shared viewpoint, not underneath the first piece. This keeps flat-picture position separate from stacking.
3. Make left and right a shared game
Keep sitting side by side. Point towards the left edge and say, “This is the left side of our picture.” Do the same on the right. Invite your child to place a suitable loose piece beside one edge, then swap roles and let them direct you.
Say whose left or right you mean. “On the left side of the picture” is clearer than “On the character’s left,” especially when the character faces the viewer. Avoid changing viewpoints until the basic game feels familiar.
4. Become puzzle detectives
Offer a clue using one position word: “Find a piece near the bottom.” Once that feels easy, combine two clues: “Find something above the main object and beside another detail.” Accept pointing as an answer; your child does not need to name everything.
Let your child invent clues for you. Make an occasional playful mistake and ask, “Did I follow your direction?” Keep it light, not a trick designed to catch them out.
Adjust the game, not the pressure
- Ages 1–3: focus on pointing, gestures and simple top/bottom language using safe materials. Do not expect reliable left/right naming.
- Ages 3–5: try one-step directions with visible pointing cues. A nine-piece wooden puzzle is one option to investigate, subject to its safety guidance and your child’s readiness.
- Ages 5–7: introduce between and short two-step instructions. Let your child give instructions too.
- Ages 7–10: try clues without gestures or describe where a missing piece belongs. Explore paper puzzles if your child enjoys more involved assembly; extra pieces are not necessary for this game.
Finish with a small everyday connection
If your child mixes up directions, simply model the word again: “You chose this side. Here is the left edge.” Avoid repeated quizzing or comparisons with siblings. End when interest fades, even if the puzzle remains unfinished.
Later, use the same language naturally: “Your book is below the shelf,” or “Put the cup beside the plate.” The aim is not perfect answers today. It is helping your child connect useful words with positions they can see, explore and describe.